Deck Staining in Falls Church A Homeowner’s Essential Guide
What is Deck Staining and Why is it Essential?
Deck staining is the process of applying a protective layer on your deck to enhance its appearance and extend its life. It involves cleaning, sanding, and sealing the wood to protect it from weather damage and other external factors. Deck staining not only helps to maintain the beauty of your deck but also helps to prevent rotting, cracking, and warping of wood, which could potentially lead to costly repairs. It is an essential step in deck maintenance that every homeowner should prioritize.
The Benefits of Deck Staining
There are several benefits to deck staining that make it an essential task for homeowners. These include: 1. Protecting the wood - As mentioned earlier, deck staining creates a protective barrier that helps to prevent damage to the wood. This is especially important for decks that are exposed to harsh weather conditions, such as sun, rain, and snow. 2. Enhancing the appearance - Over time, your deck may start to look dull and faded due to sun exposure. Deck staining can help to bring back the natural beauty of your wood and enhance the overall look of your deck. 3. Preventing mold and mildew growth - Moisture can seep into the wood and create a suitable environment for mold and mildew growth. Deck staining helps to seal the wood, making it less prone to moisture retention and preventing the growth of mold and mildew. 4. Protecting against insects - Unsealed wood can be a breeding ground for insects such as termites, which can cause major damage to your deck. Deck staining helps to protect against these pests and keep your deck safe.
How Often Should You Stain Your Deck?
The frequency of deck staining depends on several factors, including the type of wood, weather conditions, and the quality of the stain used. In general, it is recommended to stain your deck every 2-3 years. However, if you notice the color fading, or the wood starting to look dry and cracked, it may be time to re-stain.
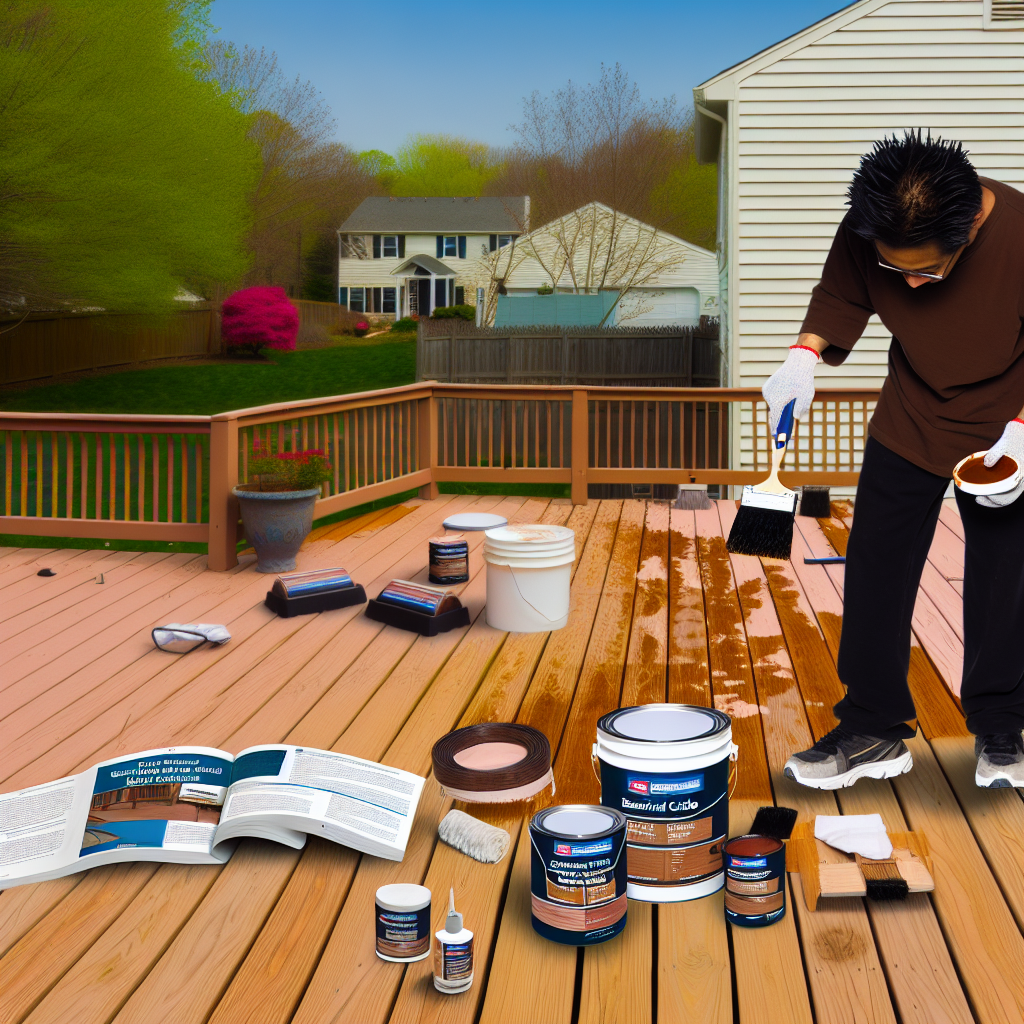
The Steps to Deck Staining
Deck staining is a multi-step process that includes cleaning, sanding, and sealing the wood. Here are the steps to follow: 1. Clean the deck - Use a deck cleaner or a mixture of water and bleach to remove any dirt, debris, and mildew from the wood. Scrub the deck with a brush and rinse thoroughly. 2. Sand the deck - Sanding helps to smooth out any rough surfaces and prepares the wood for staining. Use a sander or sandpaper to gently sand in the direction of the wood grain. 3. Choose the right stain - There are various types of stains available, such as oil-based, water-based, and solid color stains. Consider your specific needs and the type of wood you have to choose the best option. 4. Apply the stain - Use a brush, roller, or sprayer to apply the stain evenly on the deck. Follow the manufacturer's instructions for the application and drying time.
Hiring a Professional vs. DIY
While deck staining may seem like a simple task, it can be time-consuming and labor-intensive. Hiring a professional can save you the hassle and ensure the job is done correctly. However, if you decide to go the DIY route, make sure to choose a suitable day for staining (no rain in the forecast) and carefully follow the steps mentioned above. In conclusion, deck staining is an essential task that helps to protect and maintain the beauty of your deck. By following the right steps and doing it at least every 2-3 years, you can ensure your deck remains in top condition for years to come. So, don't neglect this crucial aspect of deck maintenance and enjoy your beautiful, well


contact us

Phone Number
703-512-6627
.png)
Opening Times
Mon - Fri 8:00 am - 6:00 pm
Sat - 9:00 am - 1:00 pm
Sunday - Closed